Bathrooms almost never fail all at once. There is no burst pipe, no flood, no dramatic moment that sends you running for the shutoff valve. Instead there is a faint ring around the drain, a chalky crust on the shower head, a grey caulk line that looks slightly tired. Two years later a contractor is pulling up tile and telling you the subfloor is soft.
This three-part series follows that quiet process from the first mineral deposit to the final invoice. It is written for anyone who owns a bathroom that is more than about eight years old, anyone shopping for a house with an original tub, and anyone who has looked at a stain and decided to deal with it later. You do not need plumbing experience to use it. You need a flashlight, ten minutes, and a willingness to look at the parts of the room you normally ignore.
Technical input on tub surfaces and finish failure came from Rapid Refinishing, a bathtub refinishing outfit that spends its days repairing exactly the damage described here. Their read on how chips and worn glaze behave over time shaped the way the series explains what is actually happening under a stain.
The parts below move in the same order water does: it attacks the surface first, then slips behind the edge, then goes to work on everything structural that you cannot see.
Read the Series
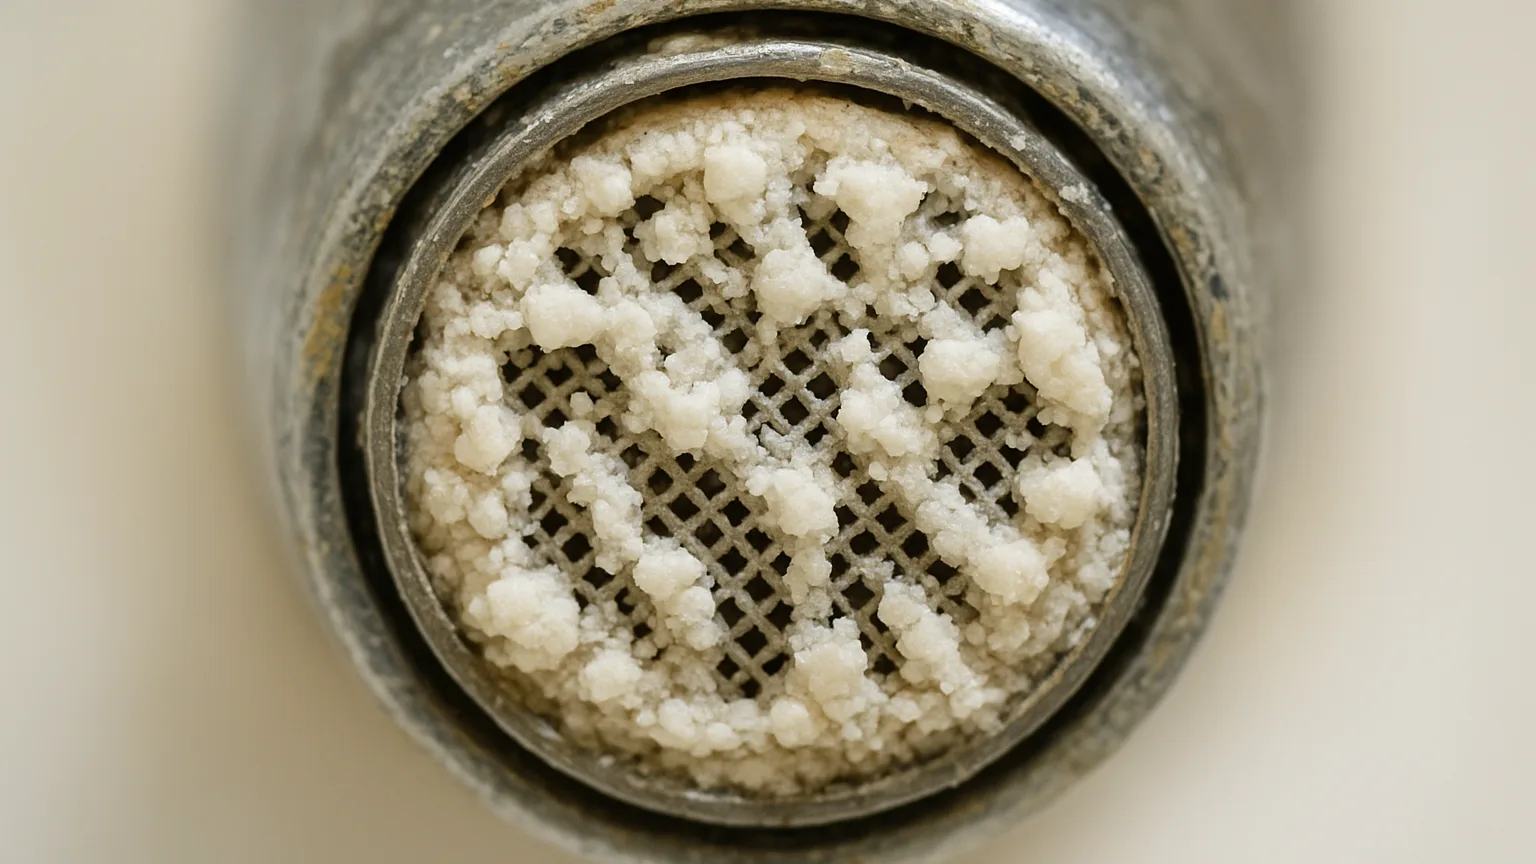
Part 1: The Invisible War Being Waged on Your Faucets Every Time You Turn the Tap
How the minerals in your water quietly attack fixtures, finishes and valves — and why one tiny chip in enamel or chrome ends up as a rust stain that spreads far beyond what you can see.
Part 2: What's Really Happening Under Your Tub While That Thin Grey Line Stays Silent
Why a failing bead of caulk is less a cosmetic flaw than an open door, and what water does to subfloor, framing and drywall once it slips behind the edge nobody inspects.
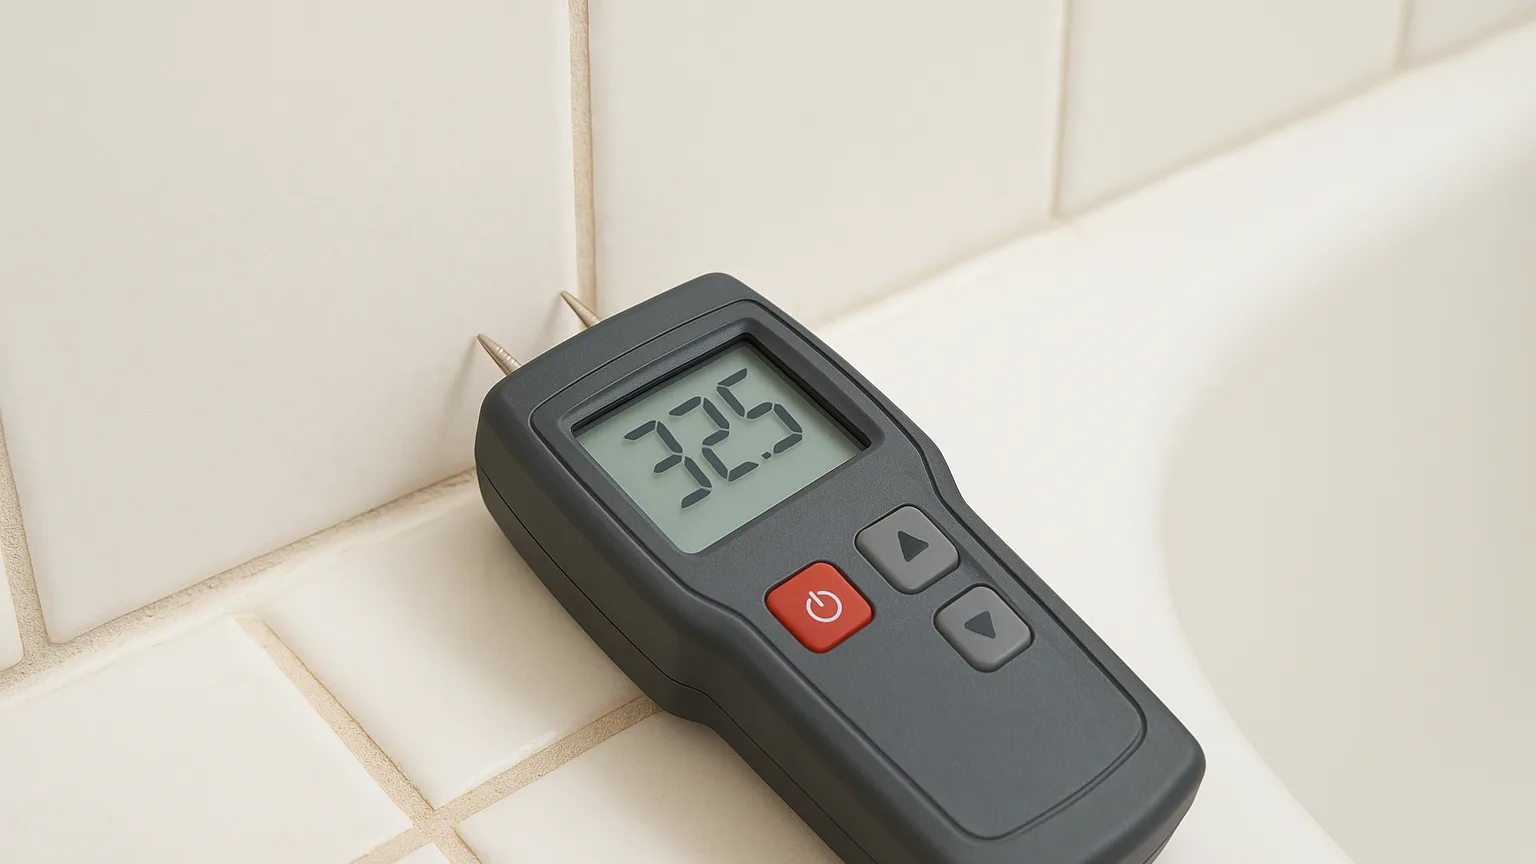
Part 3: The Repair Window Most Homeowners Sleep Through — and the Cheap Fix They Forfeit
The early warning signs that appear months before visible damage, how to check for them in ten minutes, and the point at which a weekend fix turns into a full bathroom rebuild.
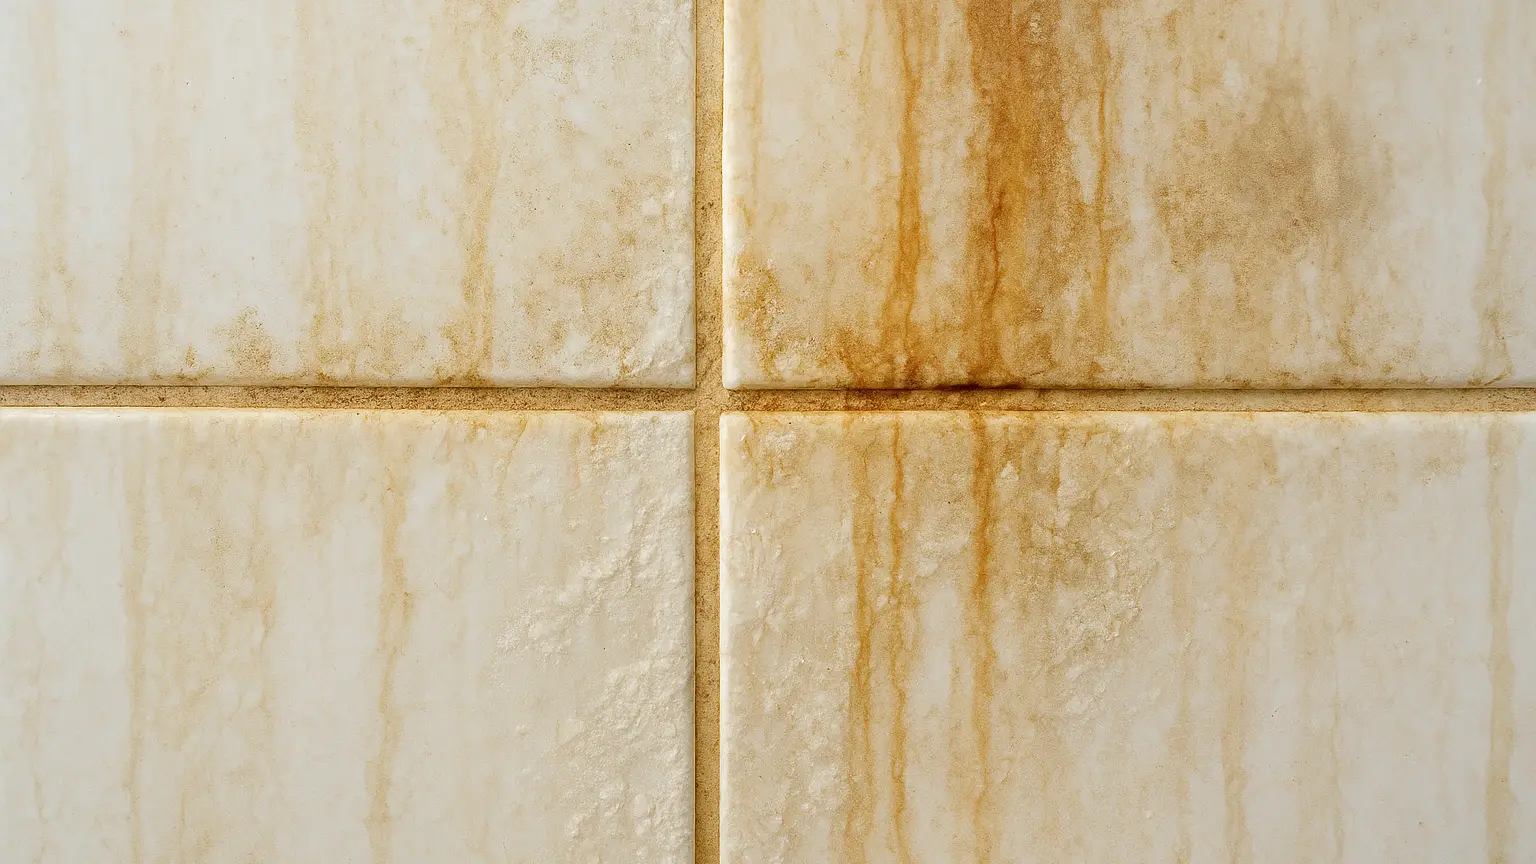
Where The Damage Starts: Your Water Against Your Finishes
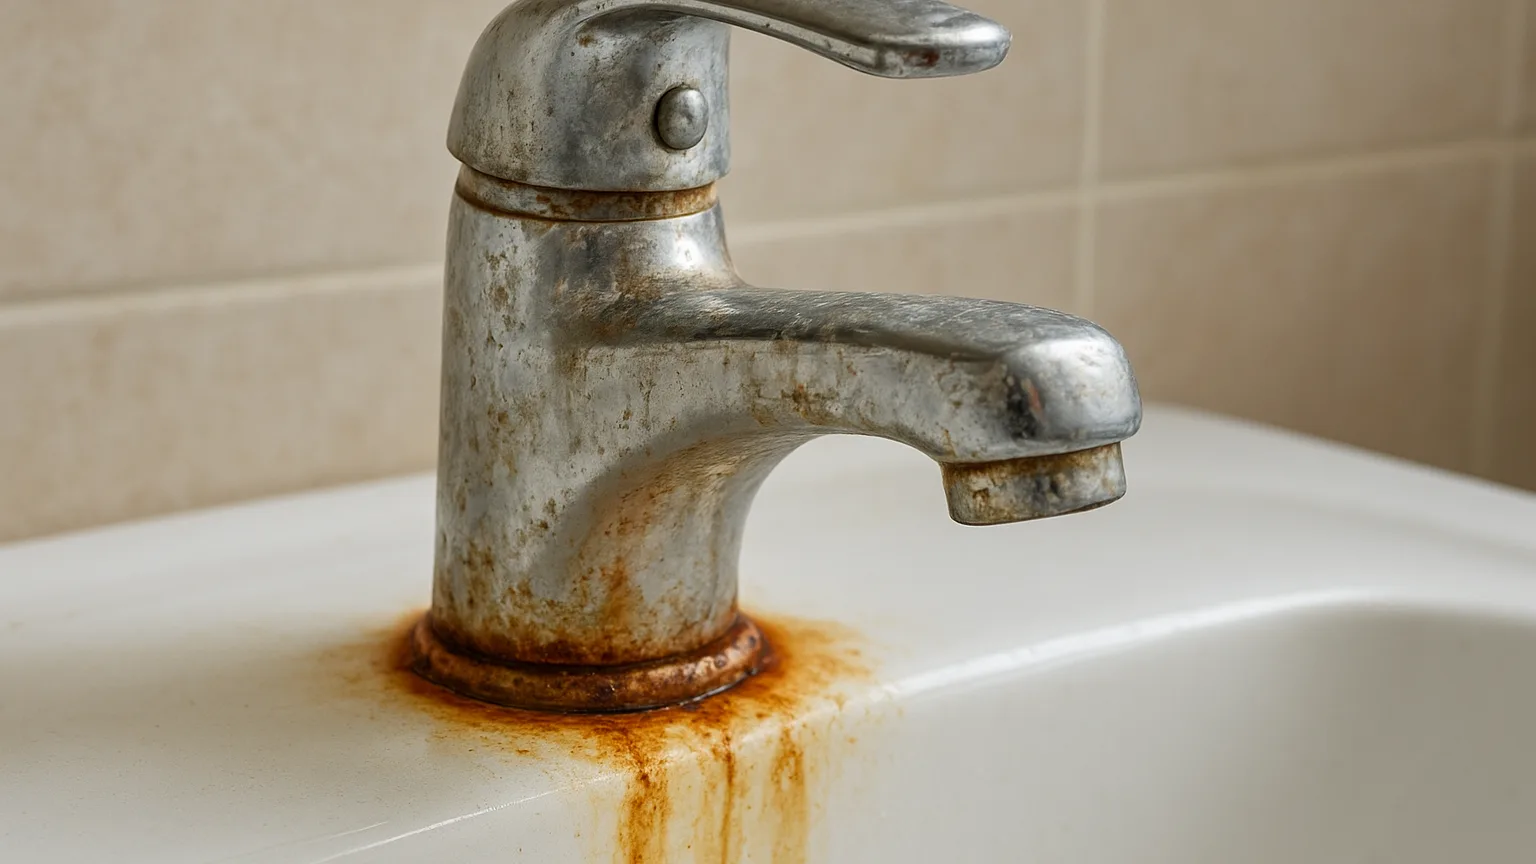
Part one deals with the slowest and most underestimated force in the room. Every time you run the tap, dissolved calcium and magnesium leave a thin deposit behind. That deposit holds moisture against chrome, it creeps into the seat of a valve, and it builds up under a faucet base where nobody wipes. On its own, scale is cosmetic. What makes it serious is what it does to the barrier underneath.
The first part explains why a single chip matters so much more than its size suggests. Enamel, porcelain and chrome plating all work the same basic way: a hard, sealed skin over a softer, reactive body. Break that skin anywhere, even with a dropped shampoo bottle, and water finally reaches metal that was never meant to get wet. Rust does not stay put. It spreads underneath the finish, lifting it from behind, which is why a rust stain always turns out to be larger than it looked once a pro starts working on it.
What That Section Gives You
- How to tell hard water scale apart from soap scum and from actual finish damage
- Why cleaning harder often accelerates the problem instead of fixing it
- The difference between a surface stain you can treat and undermining you cannot
- When a chipped tub is still a repair and when it has become a replacement
Pro tip: Run your fingernail along the base of every faucet and the lip of the tub drain. A gritty ridge you can feel but barely see is mineral buildup holding water against the finish, and it is the earliest fixable stage of the whole sequence.
The Grey Line That Lets Water In
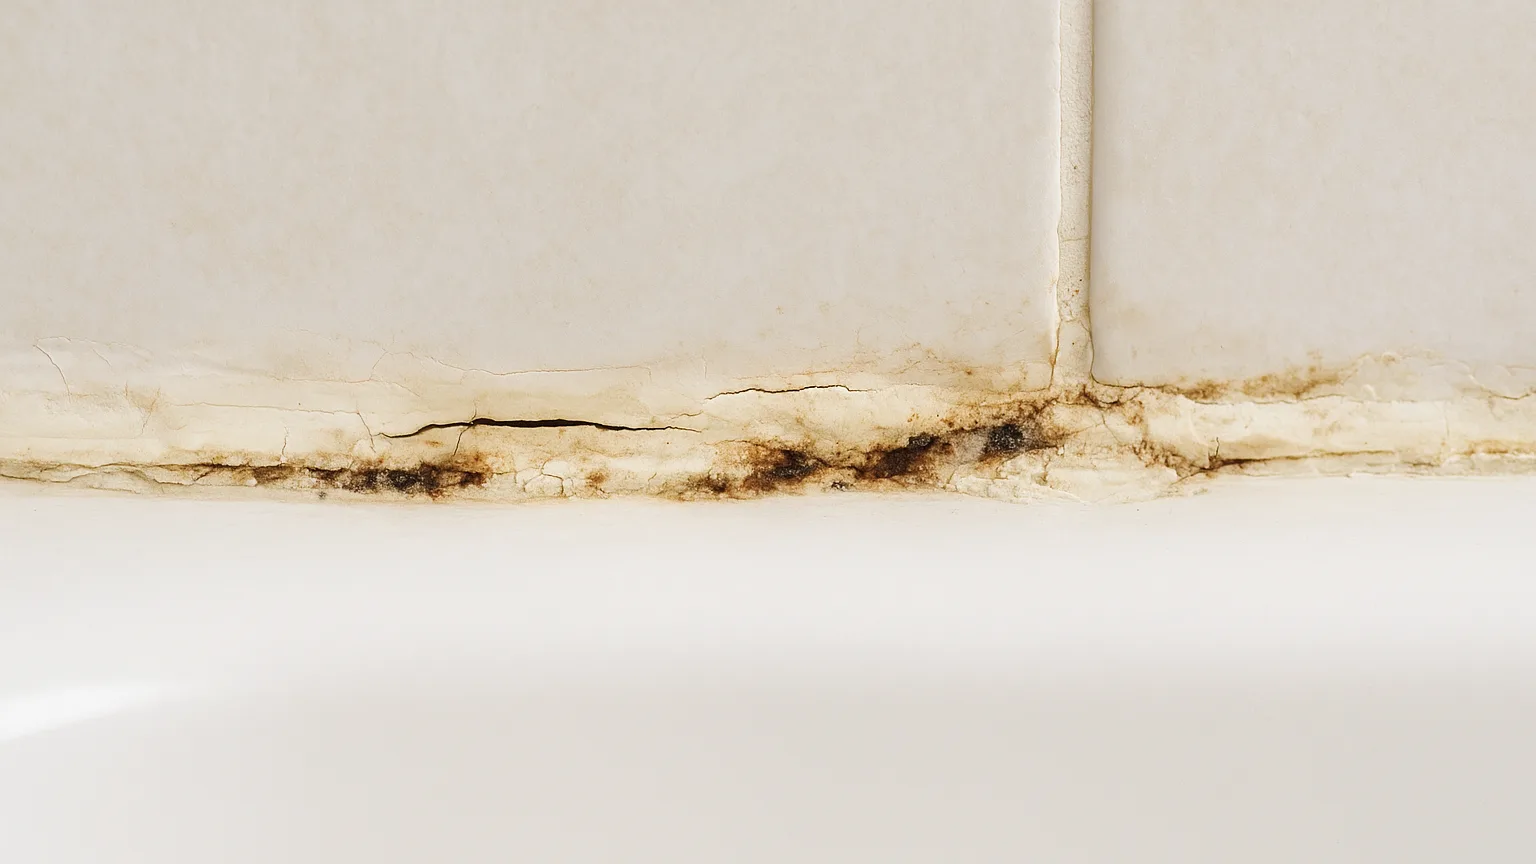
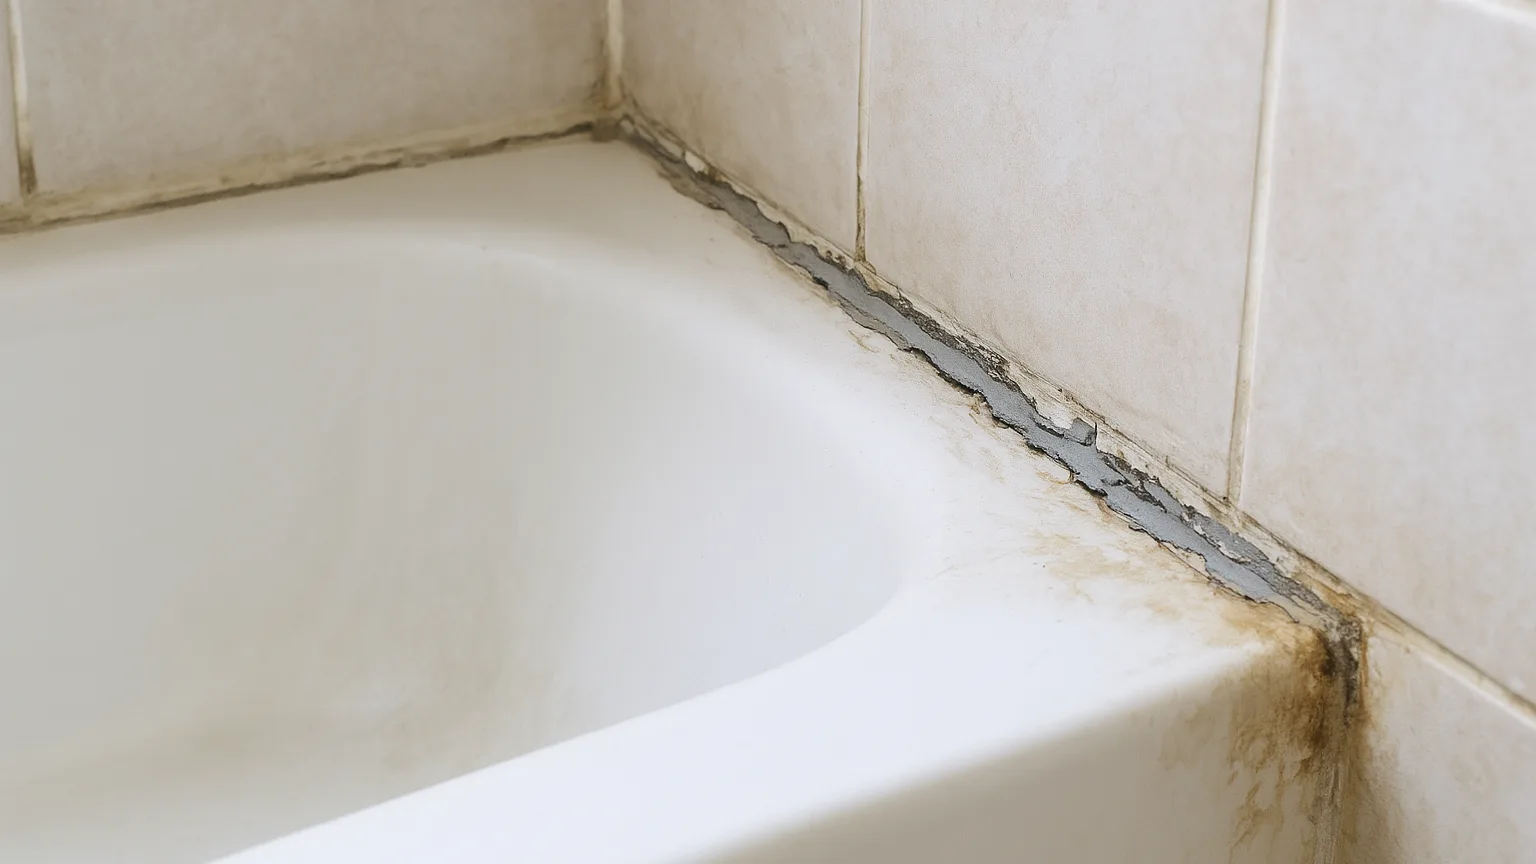
Part two moves to the joint between the tub and the wall. A bead of caulk is the only thing separating a wet room from the wood frame holding it up, and it is the cheapest component in the entire bathroom. It also has a service life. It shrinks, it loses grip at one edge, and it develops hairline gaps that are nearly invisible when the surface is dry.
Once water gets behind that line, it stops being a bathroom problem and becomes a building problem. The series walks through what water actually does to a subfloor, to the bottom plate of the wall, and to the paper face of drywall sitting just behind the tile. Plywood delaminates. Framing stays damp long enough for rot to establish. Fasteners corrode and lose their hold, which is why tiles start sounding hollow before they ever crack.
This part also explains the smell test, the flex test and the grout clue that tell you water has already been traveling. Most of the evidence shows up in places people never think to check: the ceiling of the room below, the baseboard on the far side of the wall, the toe kick of the vanity. None of it requires tools.
Pro tip: Fill the tub before you inspect the caulk line. The added weight drops the tub slightly and opens gaps that stay invisible when it is empty, which is exactly the condition water sees during a shower.
The Months You Still Have Before It Gets Expensive
Part three is the practical heart of the series. Water damage runs on a timeline, and that timeline has a window in it where the repair is still small, still affordable, and still something a reasonably handy person can handle on a Saturday. Most people sleep straight through that window, not because they are careless, but because the early signs look like ordinary wear.
The final part lays out a ten minute inspection you can repeat twice a year. It covers the sequence of warning signs in the order they appear, what each one means about how far the water has traveled, and where the cost curve turns sharply upward. There is a clear line between a job that needs a tube of sealant and a job that needs demolition, and the series puts a name on where that line sits.
Signs That Show Up Early
- A caulk bead that has pulled away at one end or darkened unevenly
- Grout that stays damp in one spot hours after a shower
- Any give or soft spring in the floor near the tub apron
- Paint lifting on the opposite side of the shower wall
- A musty note in the room that returns after every use
Spotting two of these together is usually the signal that the clock is already running.
Pro tip: Run your fingernail along the base of every faucet and the lip of the tub drain. A gritty ridge you can feel but barely see is mineral buildup holding water against the finish, and it is the earliest fixable stage of the whole sequence.
Reading The Chronicles In Order Or Out Of It
The three parts build on each other. Part one covers the chemistry working on your surfaces, part two follows the water behind the edge into framing and subfloor, and part three gives you the inspection routine and the cost thresholds that decide whether this stays a small job. Starting at the beginning gives you the full picture of how a bathroom moves from new to compromised without ever looking broken.
If something has already caught your eye, jump to the part that matches it. A rust bloom around the drain belongs to part one. A caulk line that has gone soft or dark belongs to part two. A floor that feels slightly wrong underfoot belongs to part three, and that one is worth reading today rather than next month.