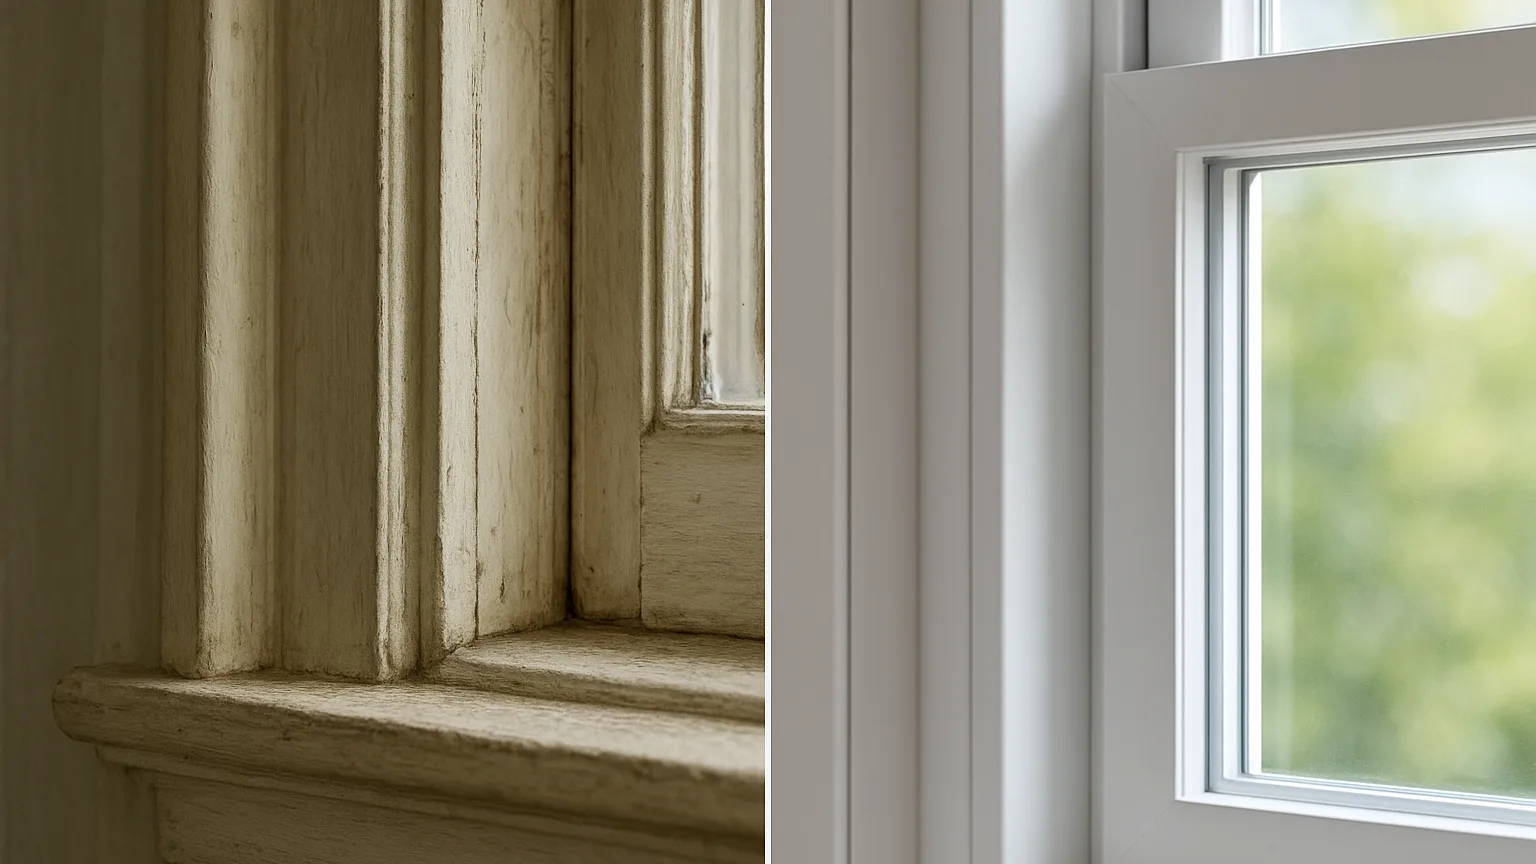
Here is something most people learn the hard way. During a remodel, one window can change size three times before you ever hang a blind.
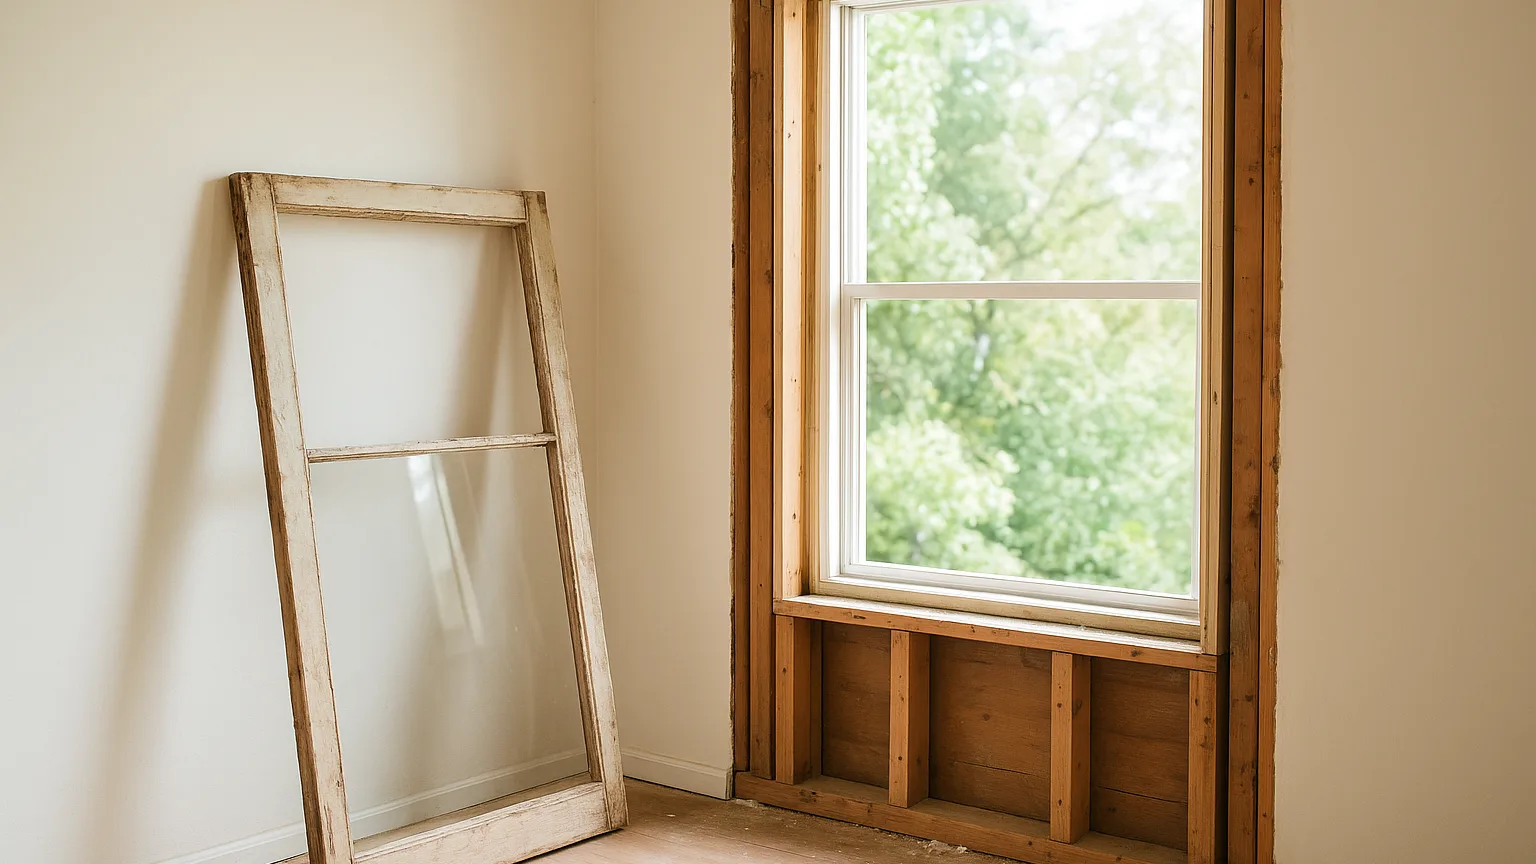
First there is the bare opening in the framing. Then drywall wraps the sides and makes the opening smaller. Then trim, tile, or a deeper sill changes it again. If you measure at the wrong stage, your blinds fit a window that no longer exists.
That is the costly mistake. Custom blinds are made to your numbers, and most can't be returned. A quarter inch off can mean a gap of light down each side, a blind that rubs the trim, or a headrail that won't fit at all.
The Three Sizes of One Window
Think of your window as having a life story. Each stage gives you a different measurement:
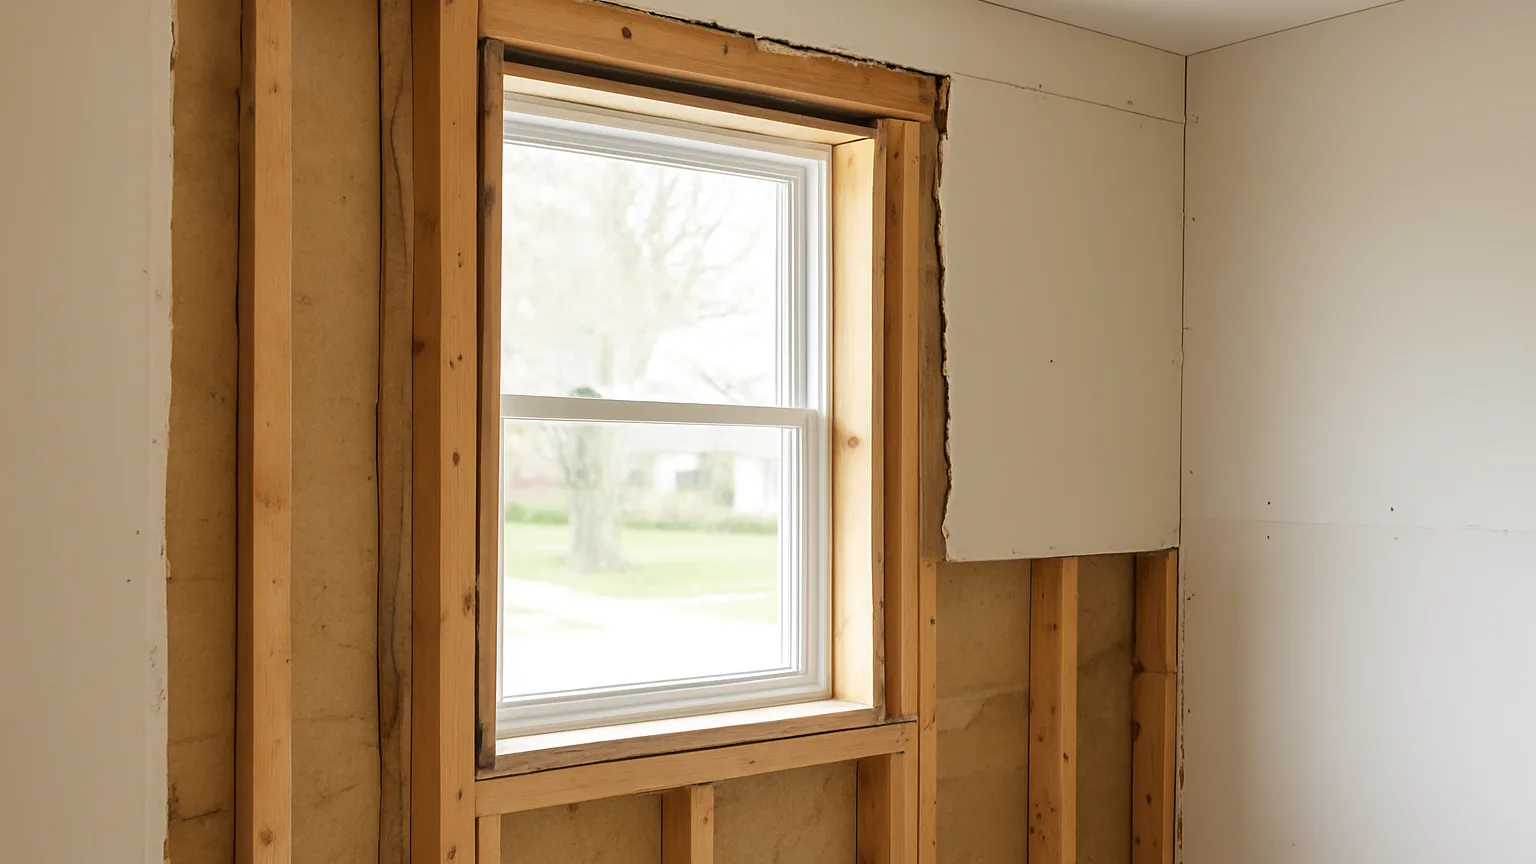
- The rough opening: raw framing with no wall finish. This number is useless for blinds.
- The drywall stage: walls are hung and taped, but trim isn't on yet. Still not final.
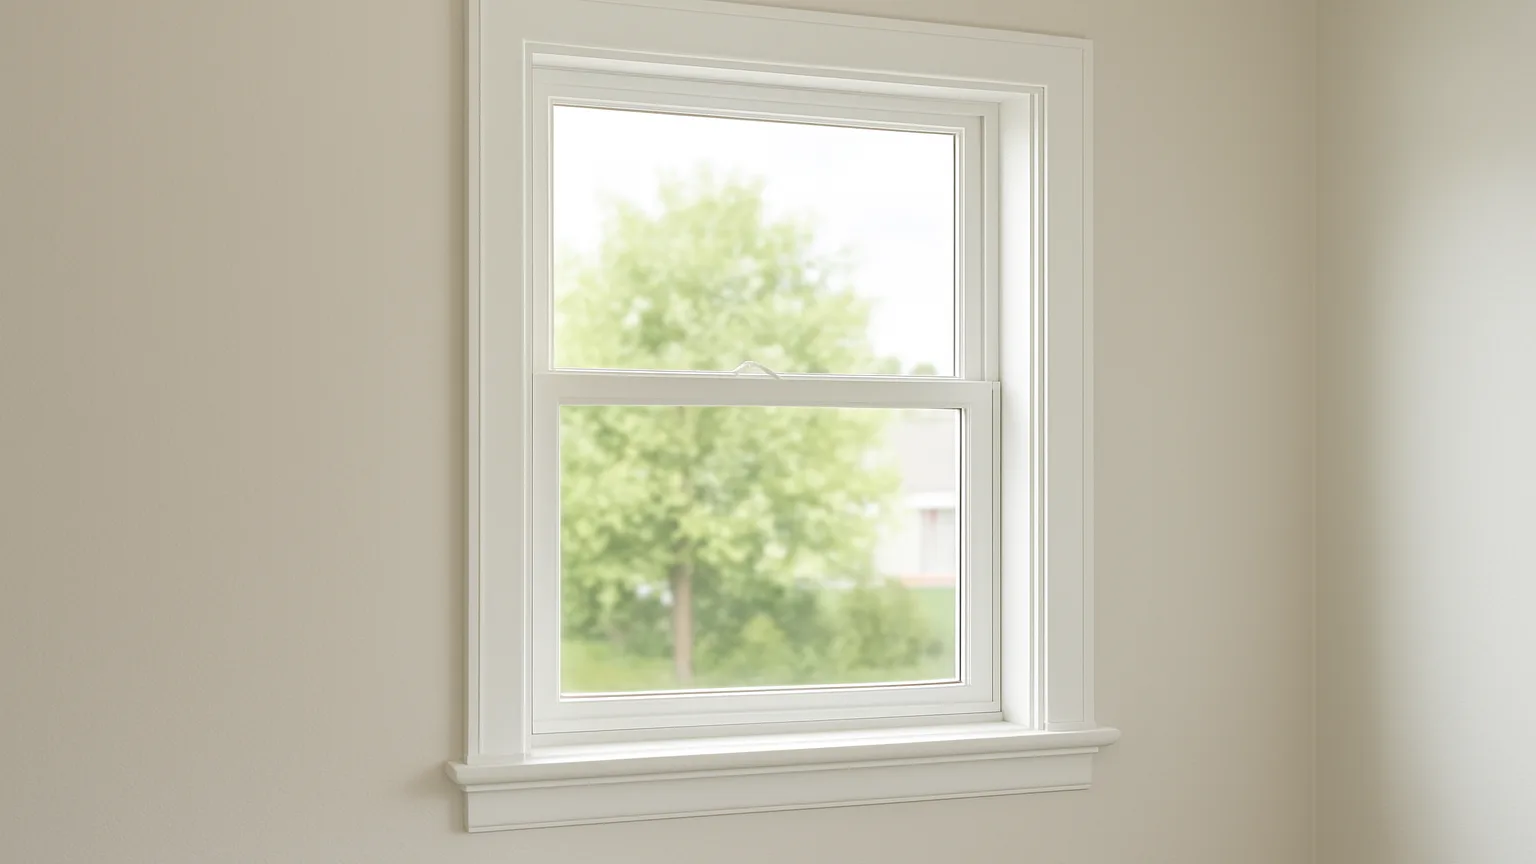
- The finished opening: trim installed, sills set, paint done. This is the only size that counts.
Rebecca Mead puts it simply: "Measure the window you'll live with, not the one you're building." Small changes add up fast. Window placement and trim depth matter more than people think, and that one inch that makes new windows look off can also make new blinds look wrong.
Where Blinds Belong on Your Remodel Timeline
The safest time to measure is after the last change to the window frame and before final paint touch-ups. That usually lands near the very end of the job. It feels late, but it saves money.
Here is a simple order to follow:
- Windows installed: Do not measure yet. Just pick your style and get a rough price.
- Drywall and corners finished: Check that the window opening looks square. Note any bowed spots.
- Trim, sills, and tile done: Now take your real measurements.
- Order blinds: Lead times often run two to six weeks, so order right away.
- Final paint and cleanup: Install blinds last so they stay clean and dust free.
Why the Wait Pays Off
Drywall corner bead can stick out more than you expect. A tiled window return in a bathroom can shrink the opening by half an inch or more. Even a thick coat of paint on new trim takes up space. Waiting until these are done means your numbers stay true.
Sliding Doors Need Extra Thought
Big openings like patio sliders add another layer. You need room for the door handle and enough clearance for the panels to stack to one side. Many homeowners find vertical blinds for patio doors work well because they glide sideways, give flexible light control for sliders, and handle wide spans without sagging. Keeping them on the inside of the glass also spares them the wind damage that makes many outdoor patio blinds wear out within a season. Plan that clearance before your trim carpenter finishes the head casing.
Use a Steel Tape, Not Cloth
Cloth tapes stretch and sag. Always use a steel tape measure and record sizes to the nearest eighth of an inch. Write width first, then height, every time. Mixing them up is one of the most common ordering errors.
Picking a Mount That Fits Your New Trim
Your mount choice decides where you measure. Get this settled before you pull out the tape. A remodel often changes the answer, so don't assume you'll keep the mount you had before.
Inside Mount
An inside mount sits within the window frame. It looks clean and shows off nice trim. But it needs enough depth. Most blinds need at least one to two inches of flat surface inside the opening, and some need three inches to sit flush, so confirm the depth before you settle between vinyl and faux wood blinds.
Measure the width at the top, middle, and bottom. Use the smallest number. Then measure the height at the left, center, and right, and use the longest. Never take off your own allowance. The maker does that.
Outside Mount
An outside mount hangs on the wall or trim above the window. It hides crooked openings and blocks more light. It also makes small windows look bigger. Add about three inches to each side and about three inches above the frame for good coverage.
When a Remodel Changes Your Choice
New deep sills, thin modern trim, or out-of-square drywall can all push you one way or the other. Here are a few quick rules:
- Shallow window depth? Go outside mount.
- Opening out of square by more than a quarter inch? Go outside mount.
- Beautiful new casing you want to show? Go inside mount if depth allows.
- Window cranks or handles in the way? Check clearance before choosing inside.
Material matters too, especially in rooms with steam. Kitchens and bathrooms handle moisture better with synthetic slats, and a quick look at how synthetic slat materials compare can help you match slat type to each room's humidity.
Label Every Window Before You Order
Put a small piece of painter's tape on each window with a name like "Kitchen Left" or "Primary Bath." Match those names on your order sheet. When the boxes arrive, installation goes fast and nothing ends up on the wrong window.
Putting Window Treatments in the Budget From Day One
Blinds are the line item people forget. By the end of a remodel, the money is often gone. Then the new rooms sit with paper taped to the glass for months. Planning early keeps that from happening.
A Simple Way to Estimate
Count every window and door that needs covering. Then sort them by type. A small bedroom window costs far less than a wide slider, where vertical patio door blinds are the usual pick. Rough ranges for one window often look like this:
- Basic vinyl or aluminum: lower cost, good for rentals or spare rooms.
- Faux wood: mid range, durable, and a favorite for kitchens and baths.
- Real wood or motorized: higher cost, best in main living spaces.
Add 10 to 15 percent on top for installation hardware, extension brackets, and surprises. Many homeowners set aside 3 to 5 percent of the full remodel budget for window treatments.
Where to Spend and Where to Save
Spend on the rooms you use most and the windows that get harsh sun. Save on closets, laundry rooms, and guest spaces. In bedrooms, you may want more than one layer, and learning how to layer blackout shades with drapery can help you budget for both pieces at once.
Tell your contractor about your blind plans early. If you want motorized blinds, an electrician can run power to the window heads while walls are still open. That small step costs little now and a lot later.
Use a Steel Tape, Not Cloth
Cloth tapes stretch and sag. Always use a steel tape measure and record sizes to the nearest eighth of an inch. Write width first, then height, every time. Mixing them up is one of the most common ordering errors.
Measure the Room You'll Live In, Not the One You're Building
A window in a remodel changes shape as the work moves along. Framing, drywall, tile, and trim each take a little space, and the only size that matters is the finished one. Wait until trim and sills are in place, pick your mount based on real depth and squareness, and order right away so blinds arrive as the paint dries.
Budget for window treatments from the first day so they don't get squeezed out at the end. Sort windows by room and use, spend where you live most, and plan power for any motorized blinds while walls are open. Do that, and your new blinds will fit like they were part of the design all along, because they were.